> ## Documentation Index
> Fetch the complete documentation index at: https://mintlify-nick-eng-3707-update-chat-endpoints-to-single-assi.mintlify.site/llms.txt
> Use this file to discover all available pages before exploring further.
# Quickstart
> Deploy your documentation in minutes
This quickstart guide shows you how to set up and deploy your documentation site in minutes.
After you complete this guide, you will have a live documentation site ready to customize and expand.
**Prerequisites**: Before you begin, [create an account](https://mintlify.com/start) and complete onboarding.
## Getting Started
After you complete the onboarding process, your documentation site will automatically deploy to a unique URL with this format:
```
https://.mintlify.app
```
Find your URL on the Overview page of your [dashboard](https://dashboard.mintlify.com/).
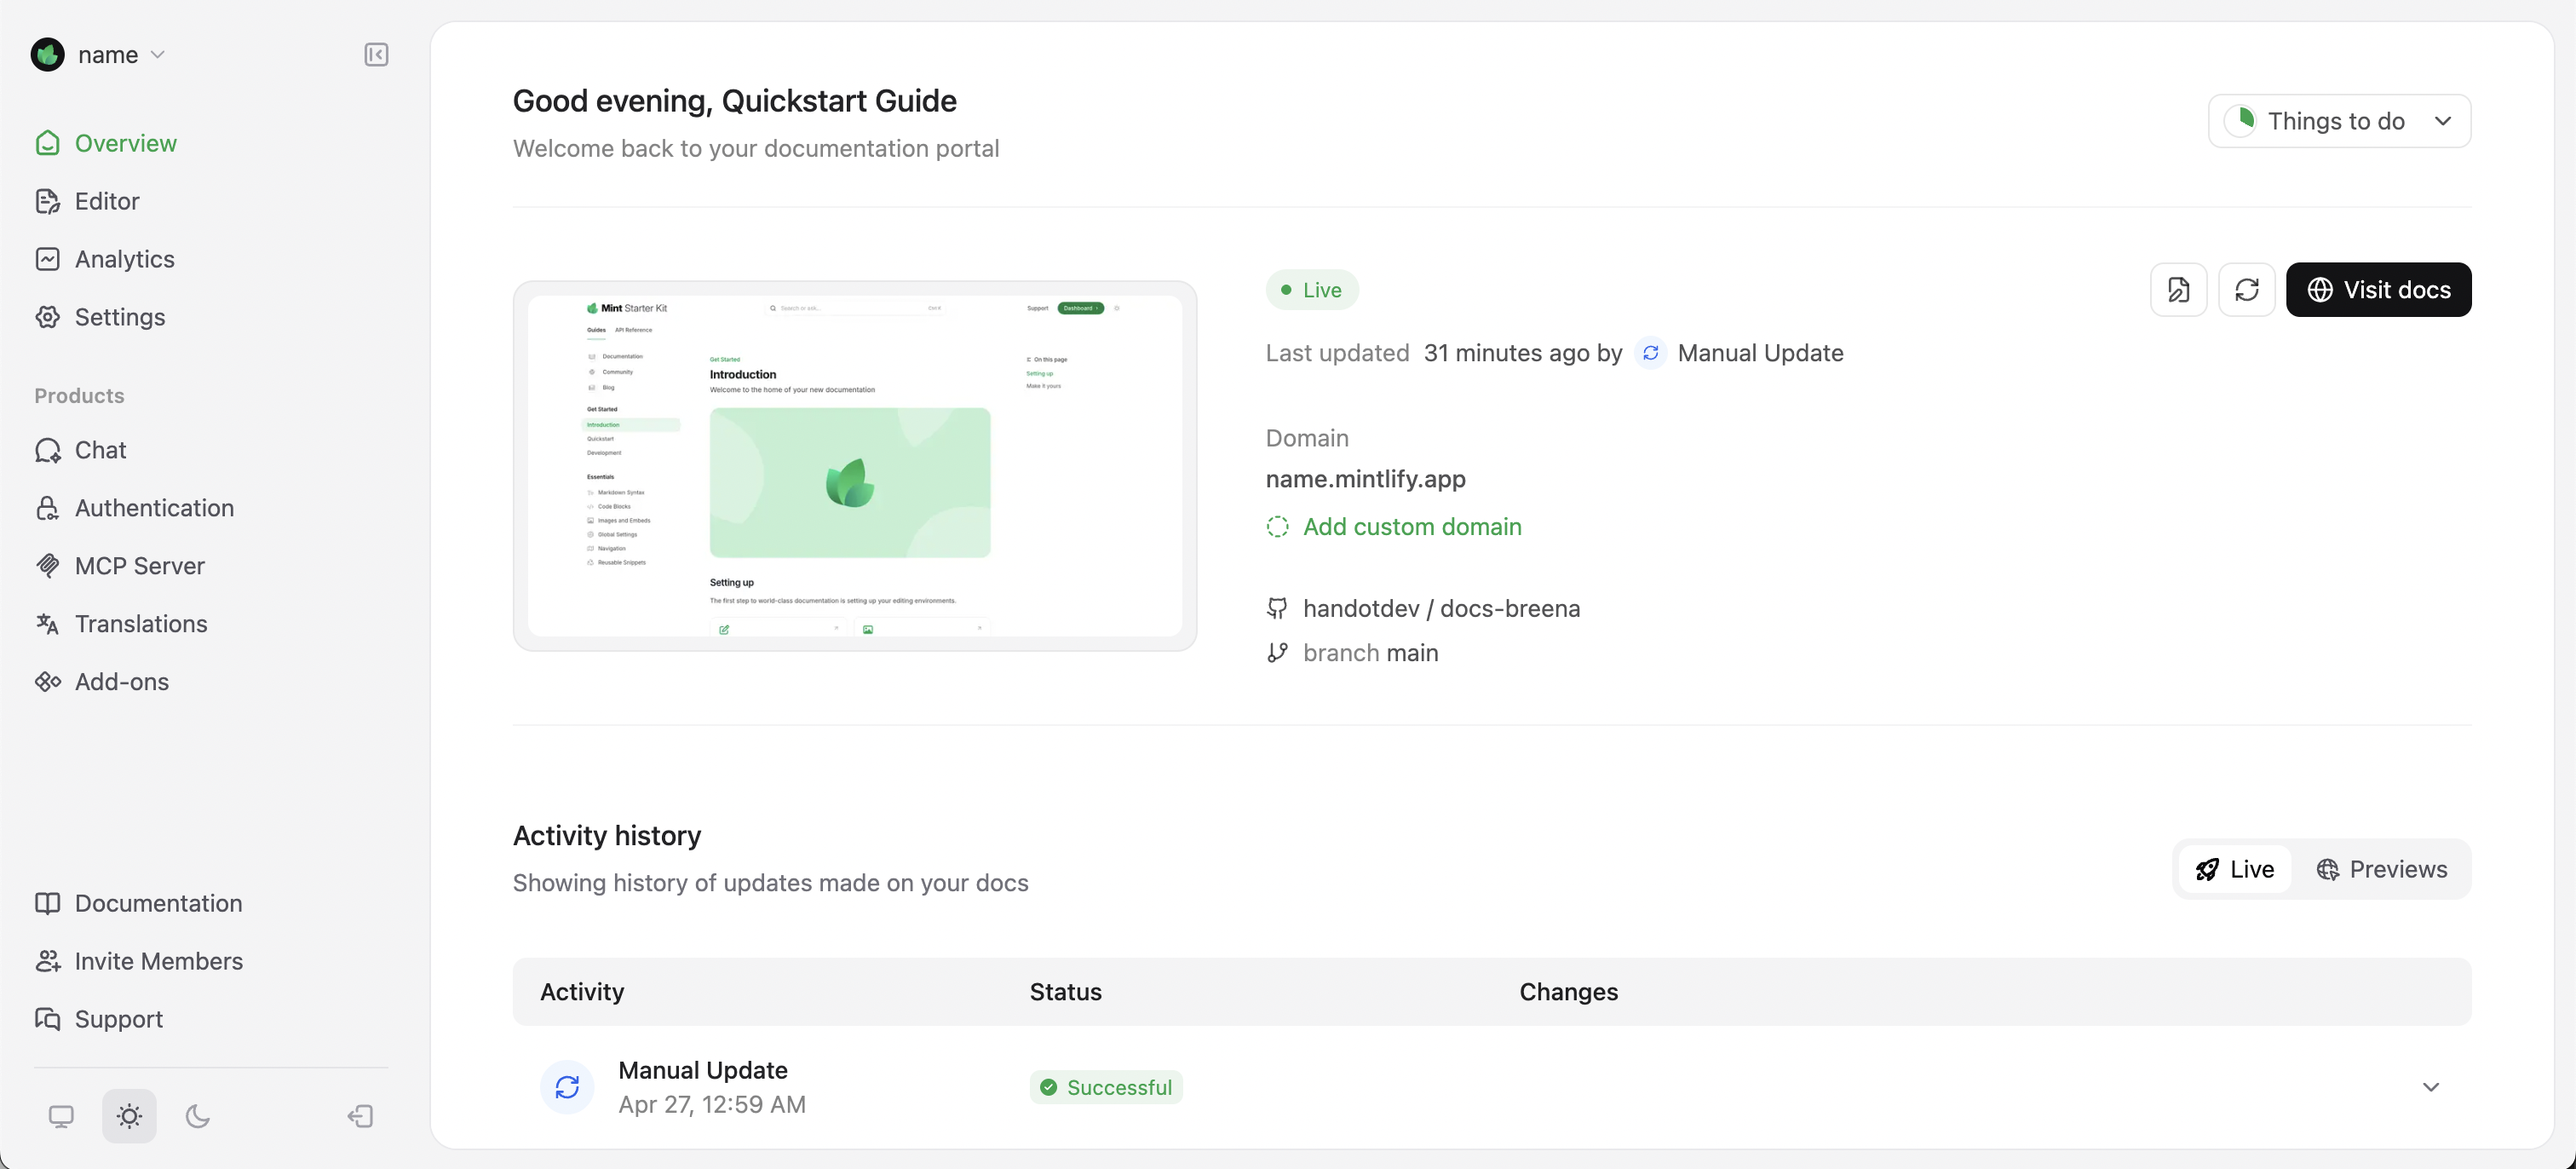
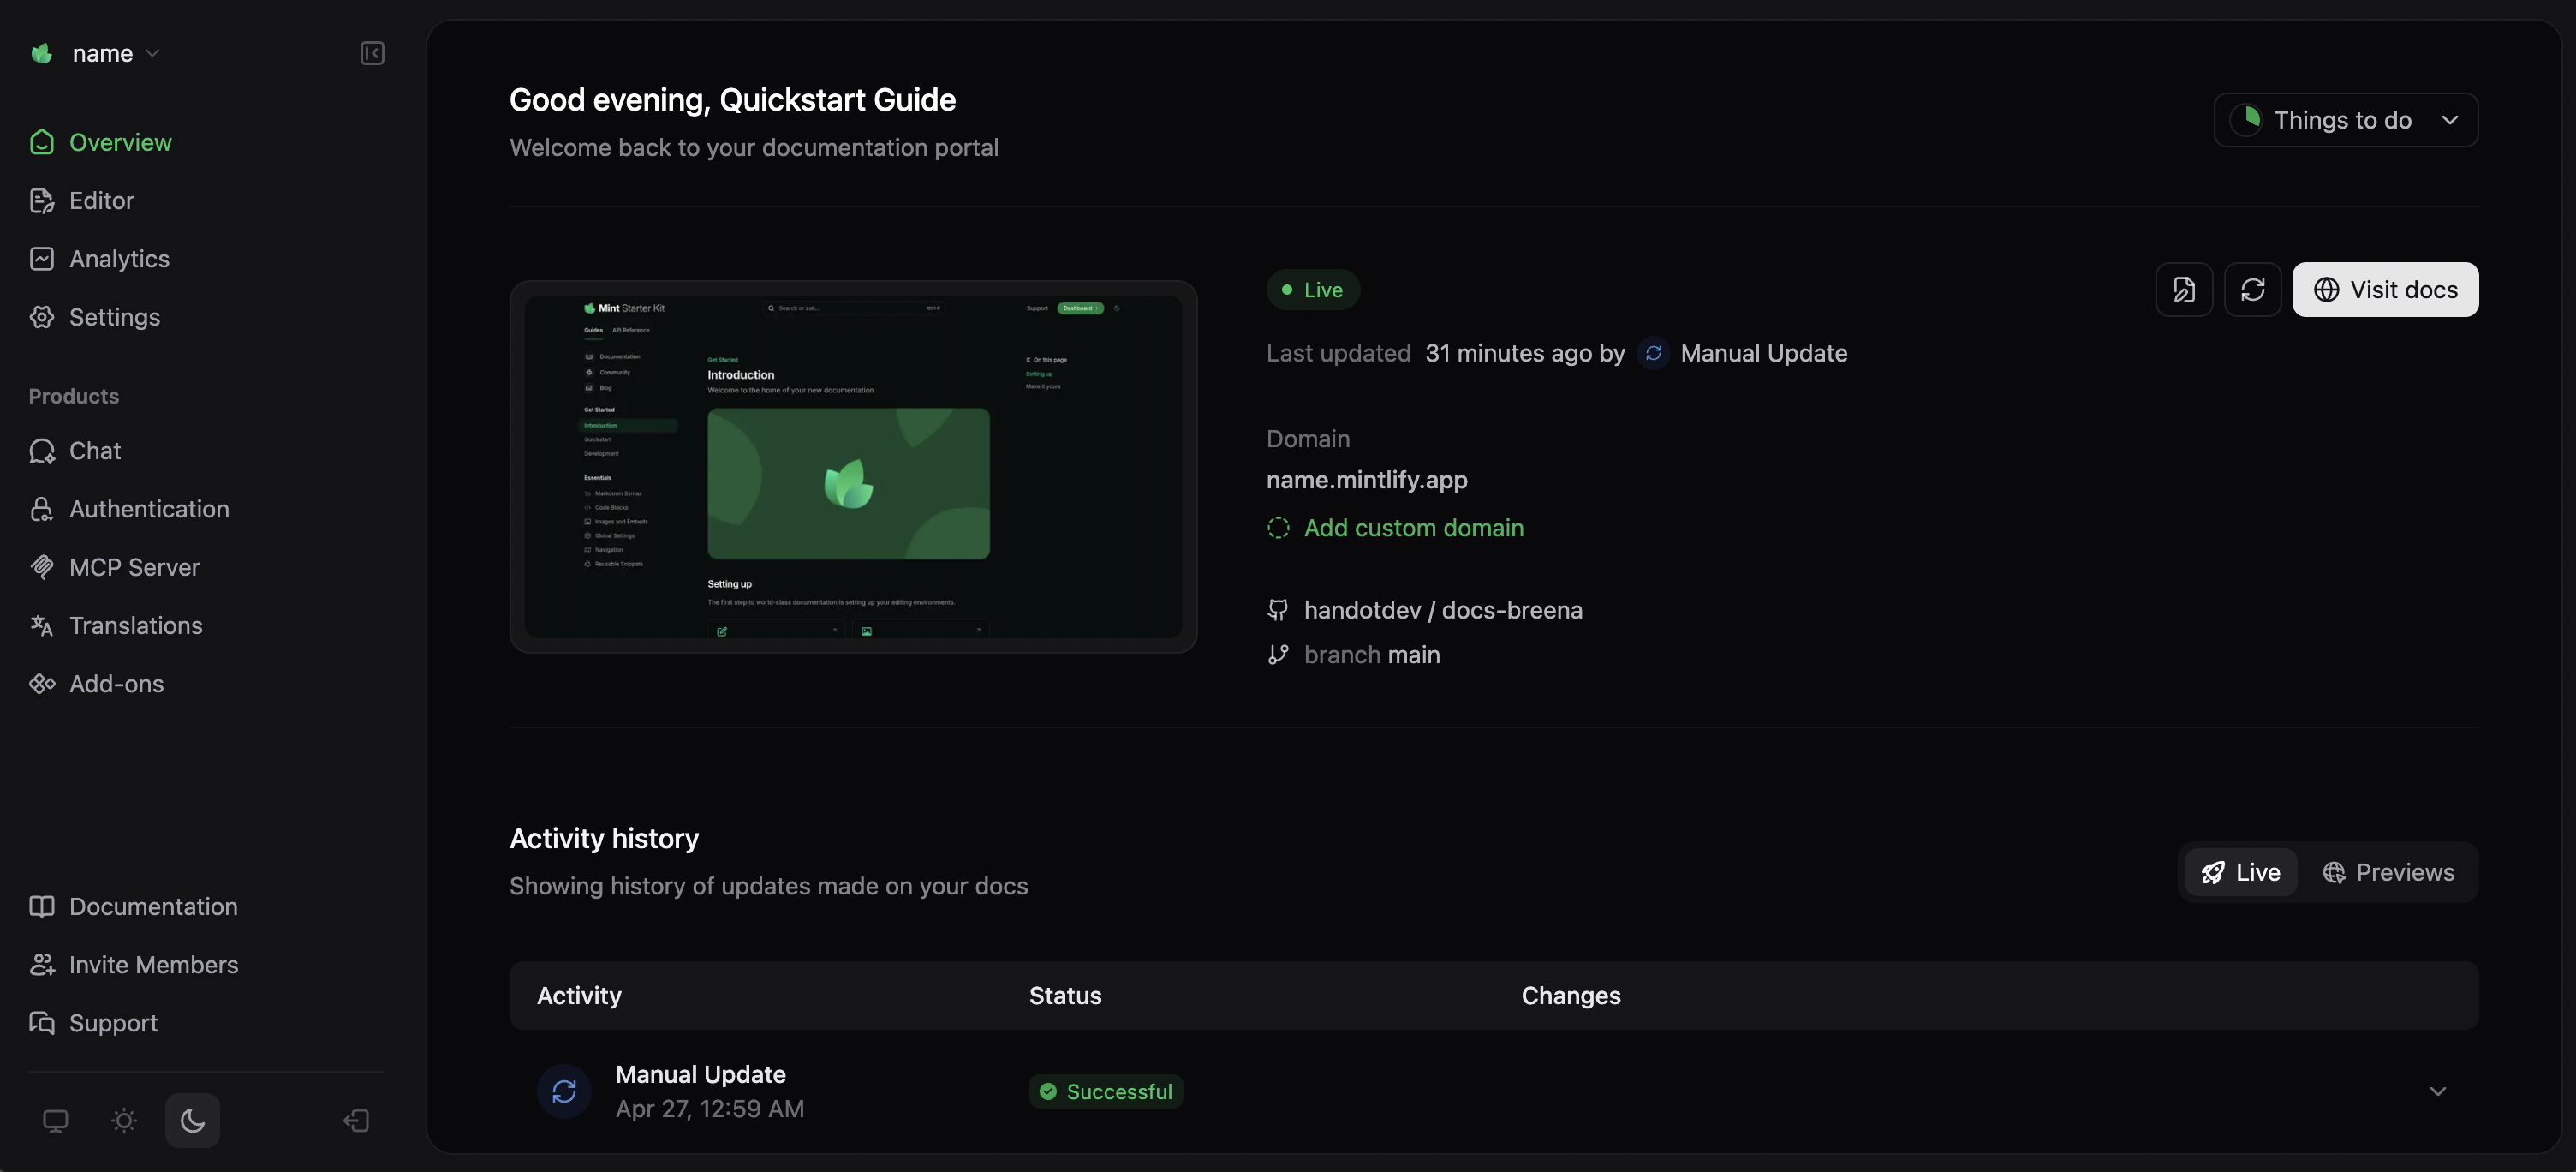 This URL becomes available immediately and updates when you make changes to your documentation. Use this URL for testing and sharing with your team during development.
### Install the GitHub App
Mintlify provides a GitHub App that automates deployment when you push changes to your repository.
Install the GitHub App by following the instructions from the onboarding checklist or from your dashboard.
1. Navigate to **Settings** in your Mintlify dashboard.
2. Select **GitHub App** from the sidebar.
3. Select **Install GitHub App**. This opens a new tab to the GitHub App installation page.
4. Select the organization or user account where you want to install the app. Then select the repositories that you want to connect.
This URL becomes available immediately and updates when you make changes to your documentation. Use this URL for testing and sharing with your team during development.
### Install the GitHub App
Mintlify provides a GitHub App that automates deployment when you push changes to your repository.
Install the GitHub App by following the instructions from the onboarding checklist or from your dashboard.
1. Navigate to **Settings** in your Mintlify dashboard.
2. Select **GitHub App** from the sidebar.
3. Select **Install GitHub App**. This opens a new tab to the GitHub App installation page.
4. Select the organization or user account where you want to install the app. Then select the repositories that you want to connect.
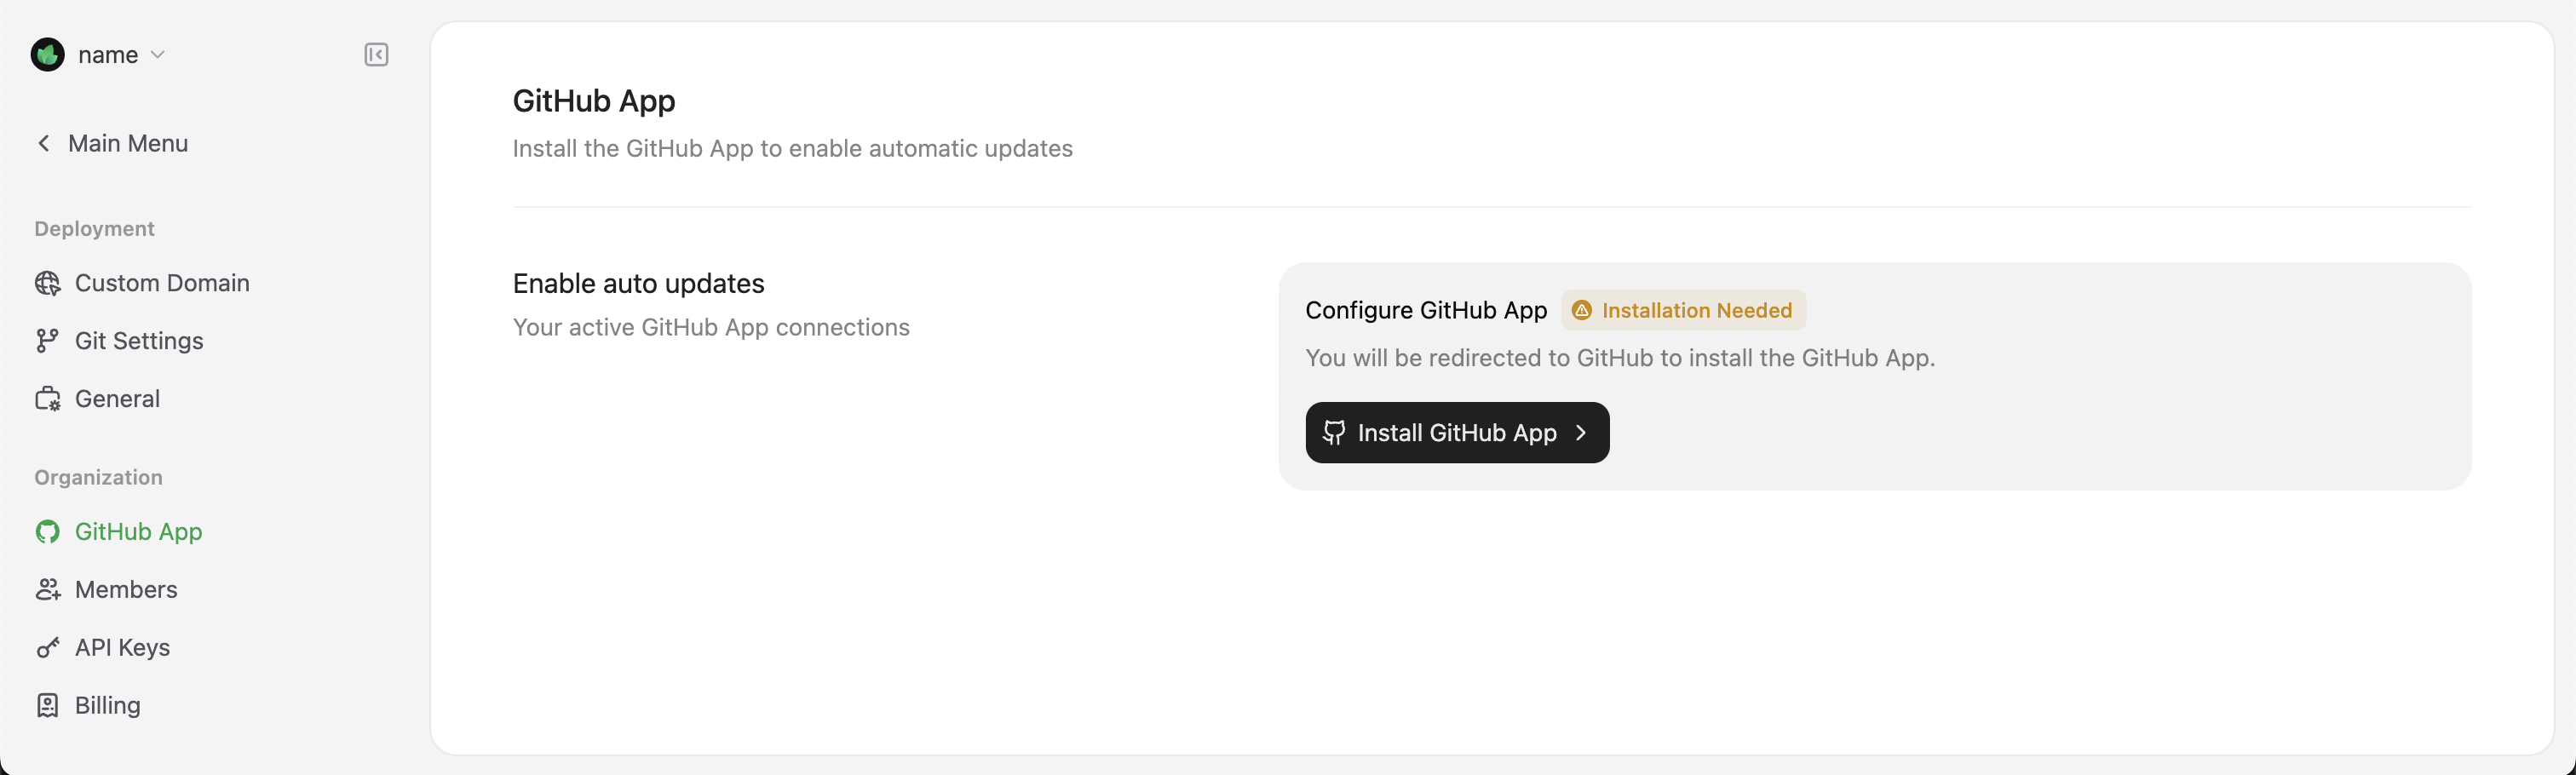
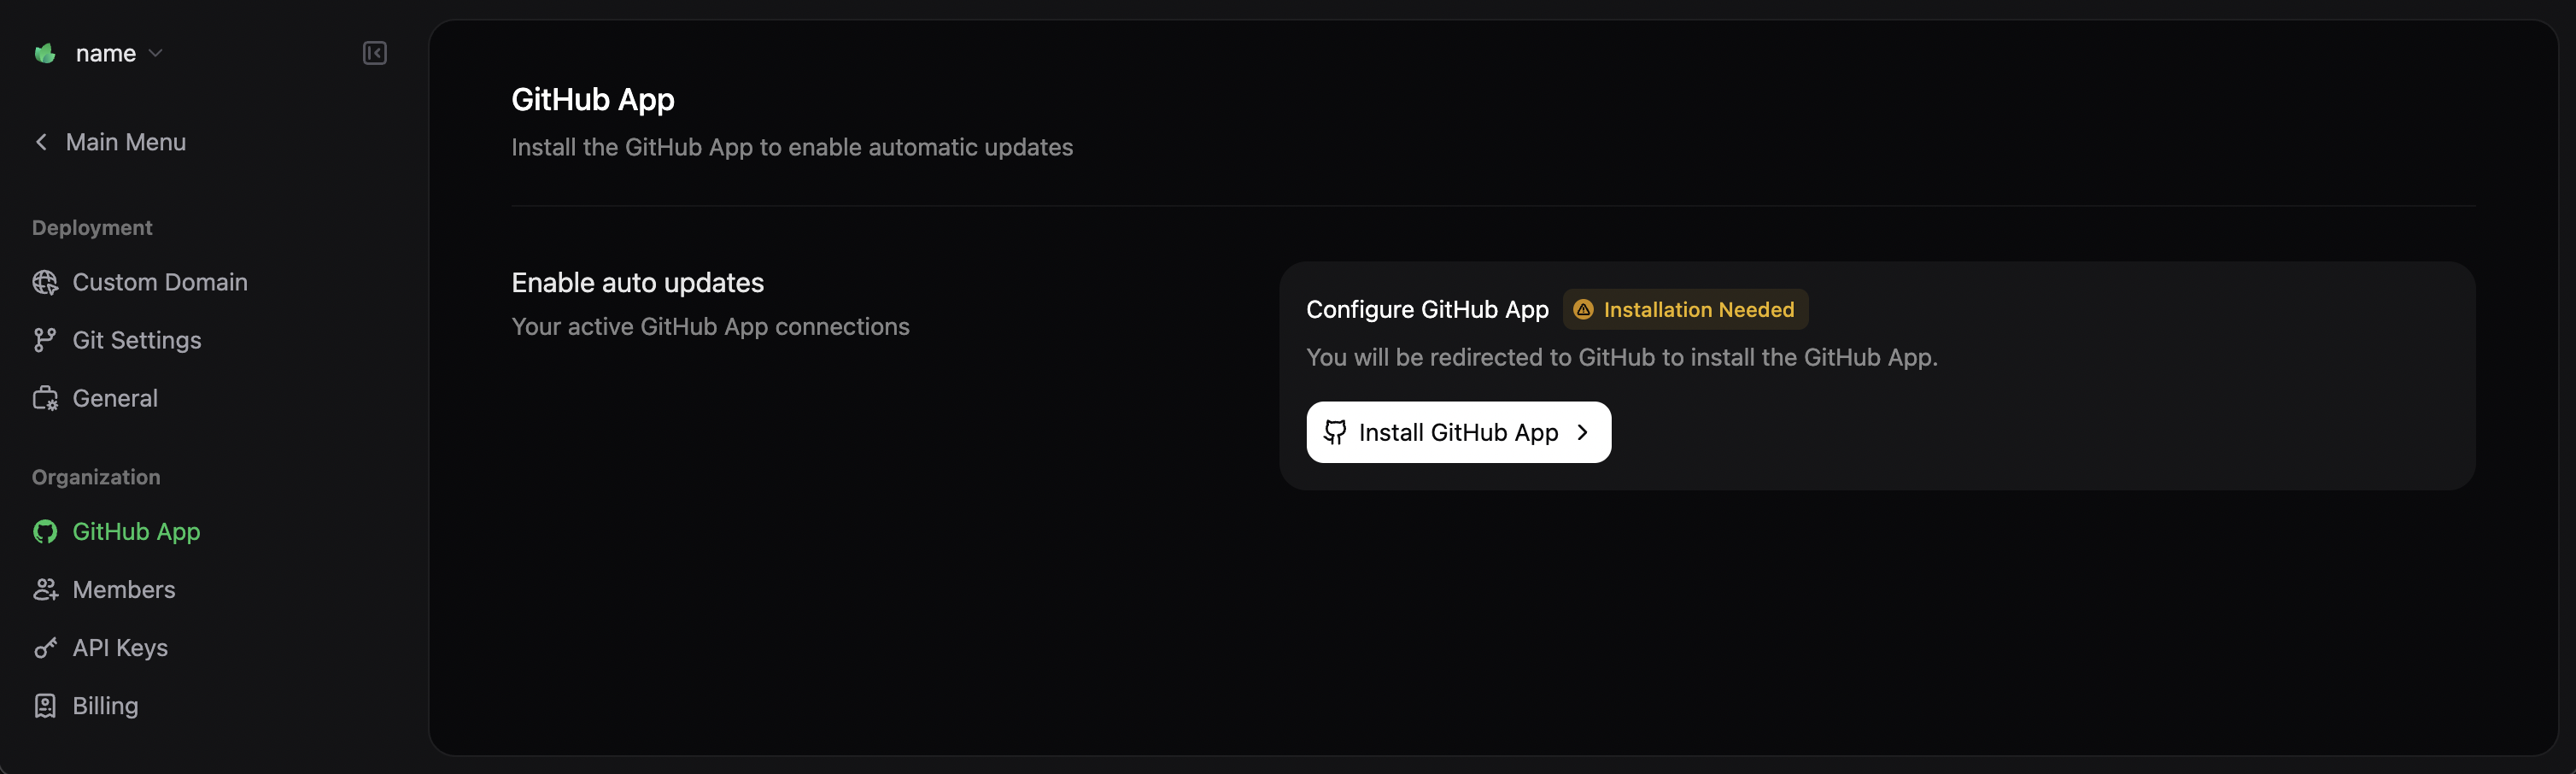 Update the GitHub App permissions if you move your documentation to a different repository.
### Authorize your GitHub Account
1. Navigate to **Settings** in your Mintlify dashboard.
2. Select **My Profile** from the sidebar.
3. Select **Authorize GitHub account**. This opens a new tab to the GitHub authorization page.
An admin for your GitHub organization may need to authorize your account depending on your organization settings.
## Editing Workflows
Mintlify offers two workflows for creating and maintaining your documentation.
For users who prefer working with existing tools in their local environment. Click to jump to this section.
For users who prefer a visual interface in their web browser. Click to jump to this section.
## Code-Based Workflow
The code-based workflow integrates with your existing development environment and Git repositories. This workflow is best for technical teams who want to manage documentation alongside code.
### Install the CLI
To work locally with your documentation, install the Command Line Interface (CLI), called [mint](https://www.npmjs.com/package/mint), by running this command in your terminal:
```bash npm
npm install -g mint
```
```bash yarn
yarn global add mint
```
```bash pnpm
pnpm add -g mint
```
You need Node.js installed on your machine. If you encounter installation issues, check the troubleshooting guide.
### Edit the Documentation
After you set up your environment, you can start editing your documentation files. For example, update the title of the introduction page:
Open your repository created during onboarding, find the `index.mdx` file, and find the top of the file:
```mdx index.mdx
---
title: "Introduction"
description: "This is the introduction to the documentation"
---
```
Update the `title` field to `"Hello World"`.
```mdx index.mdx {2}
---
title: "Hello World"
description: "This is the introduction to the documentation"
---
```
### Preview the Changes
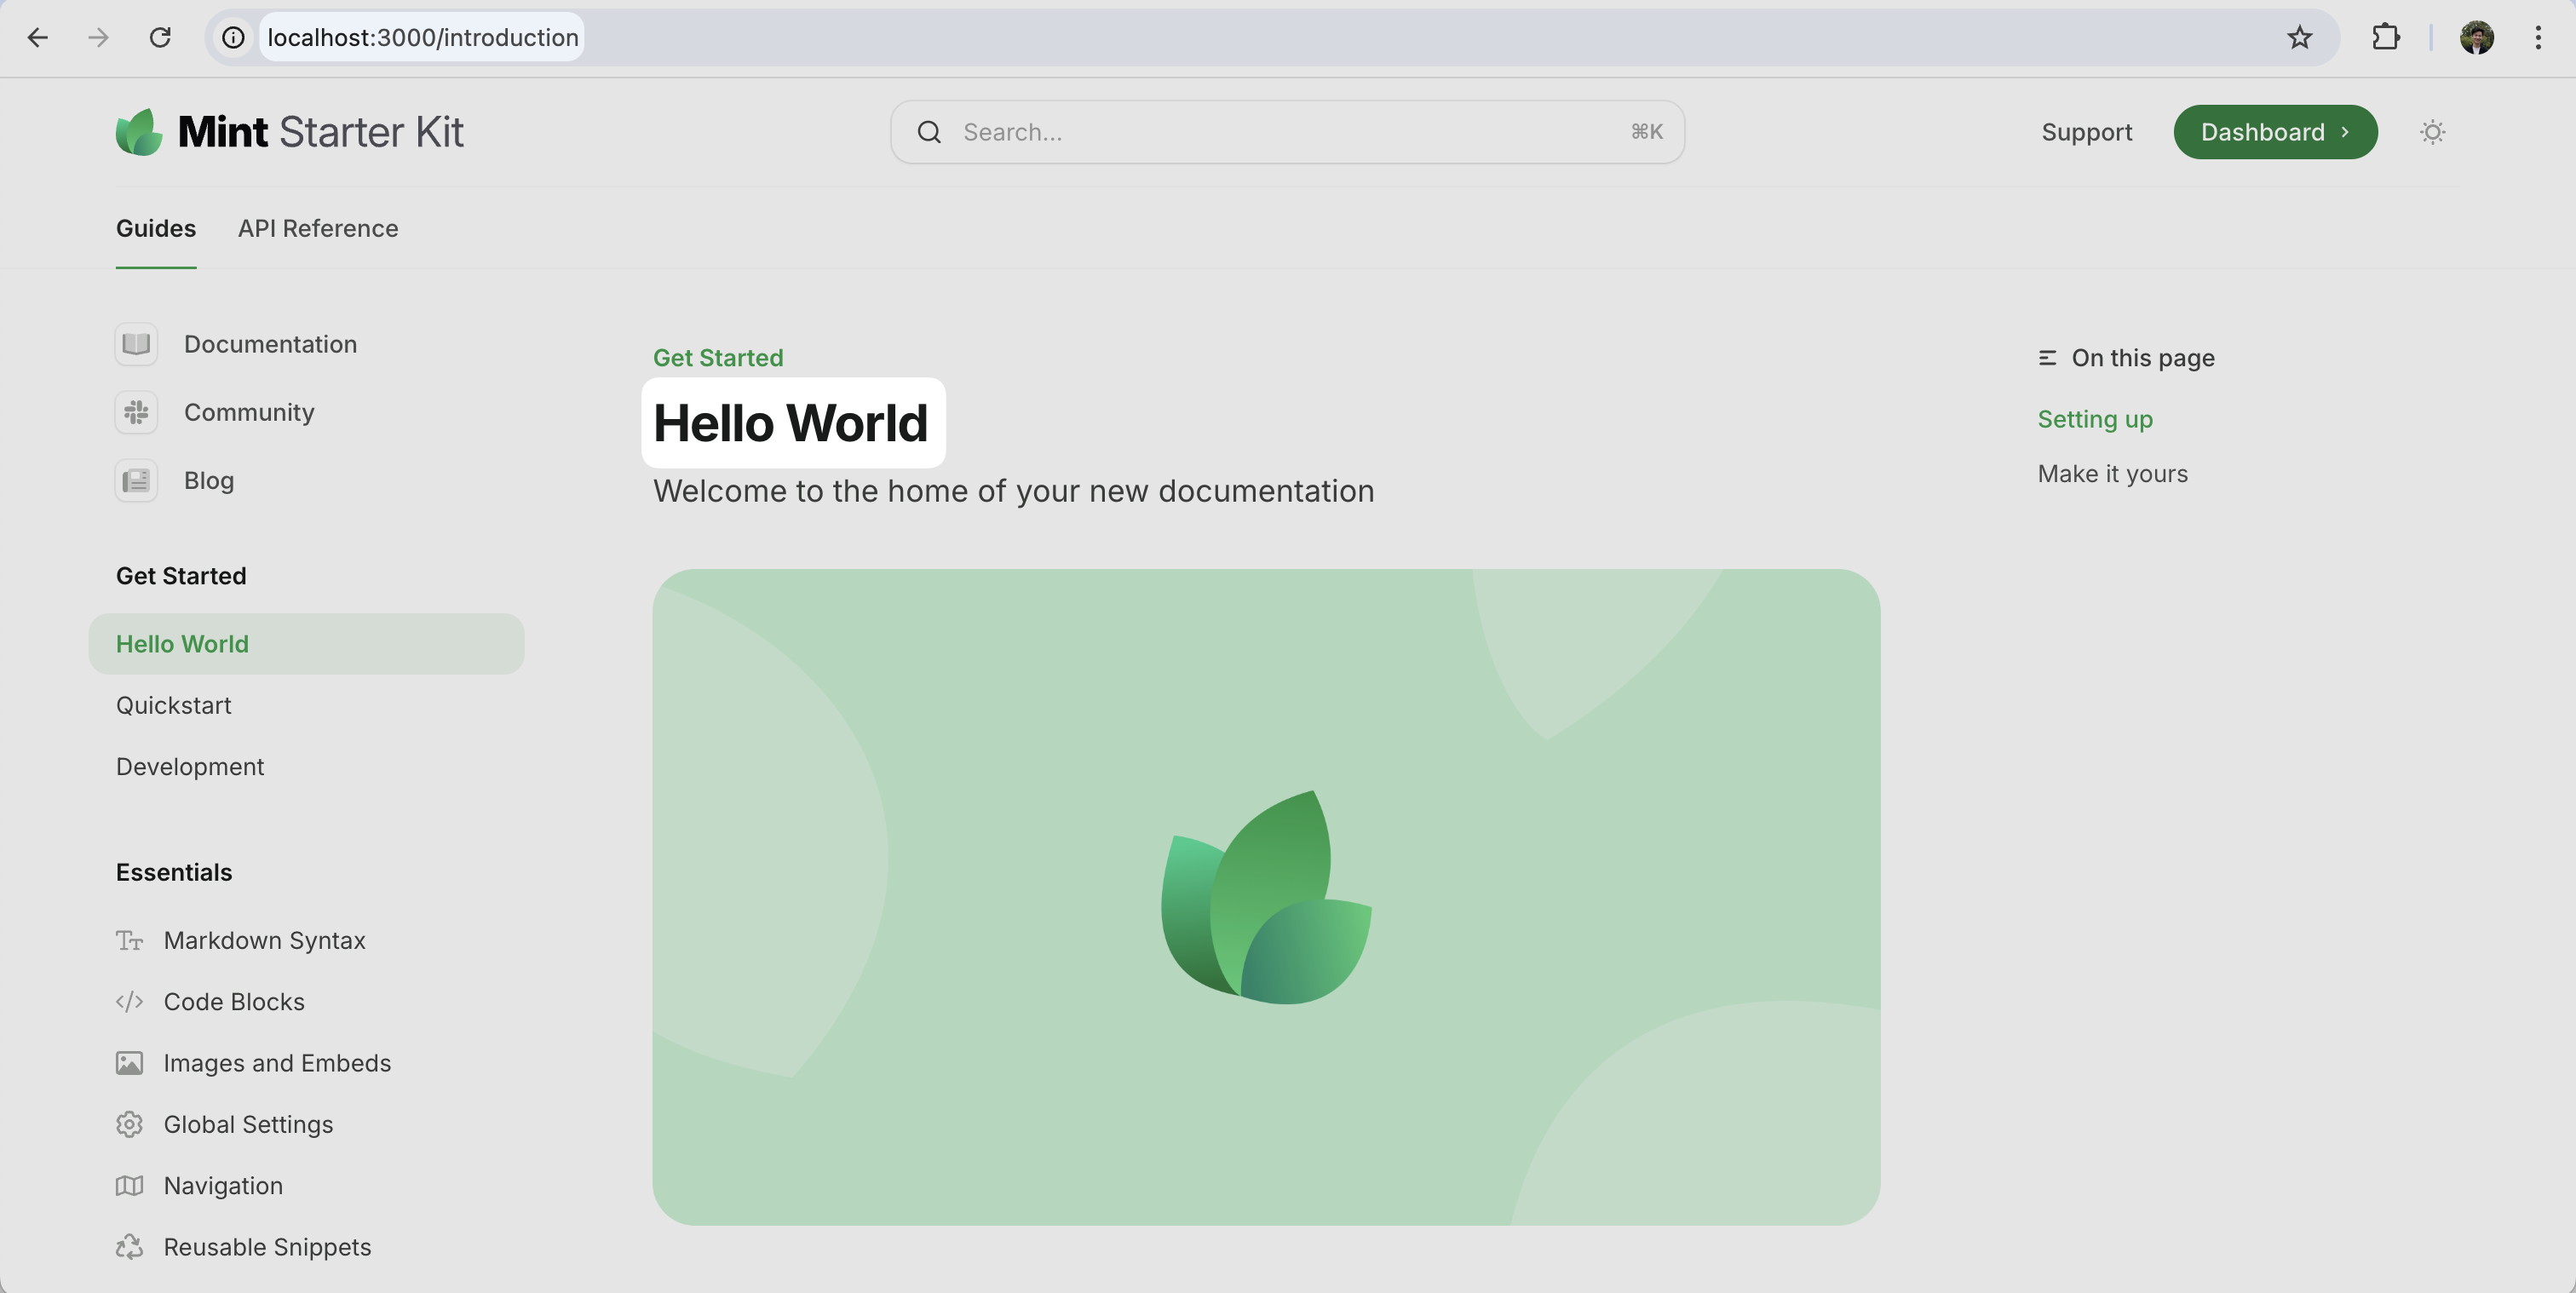
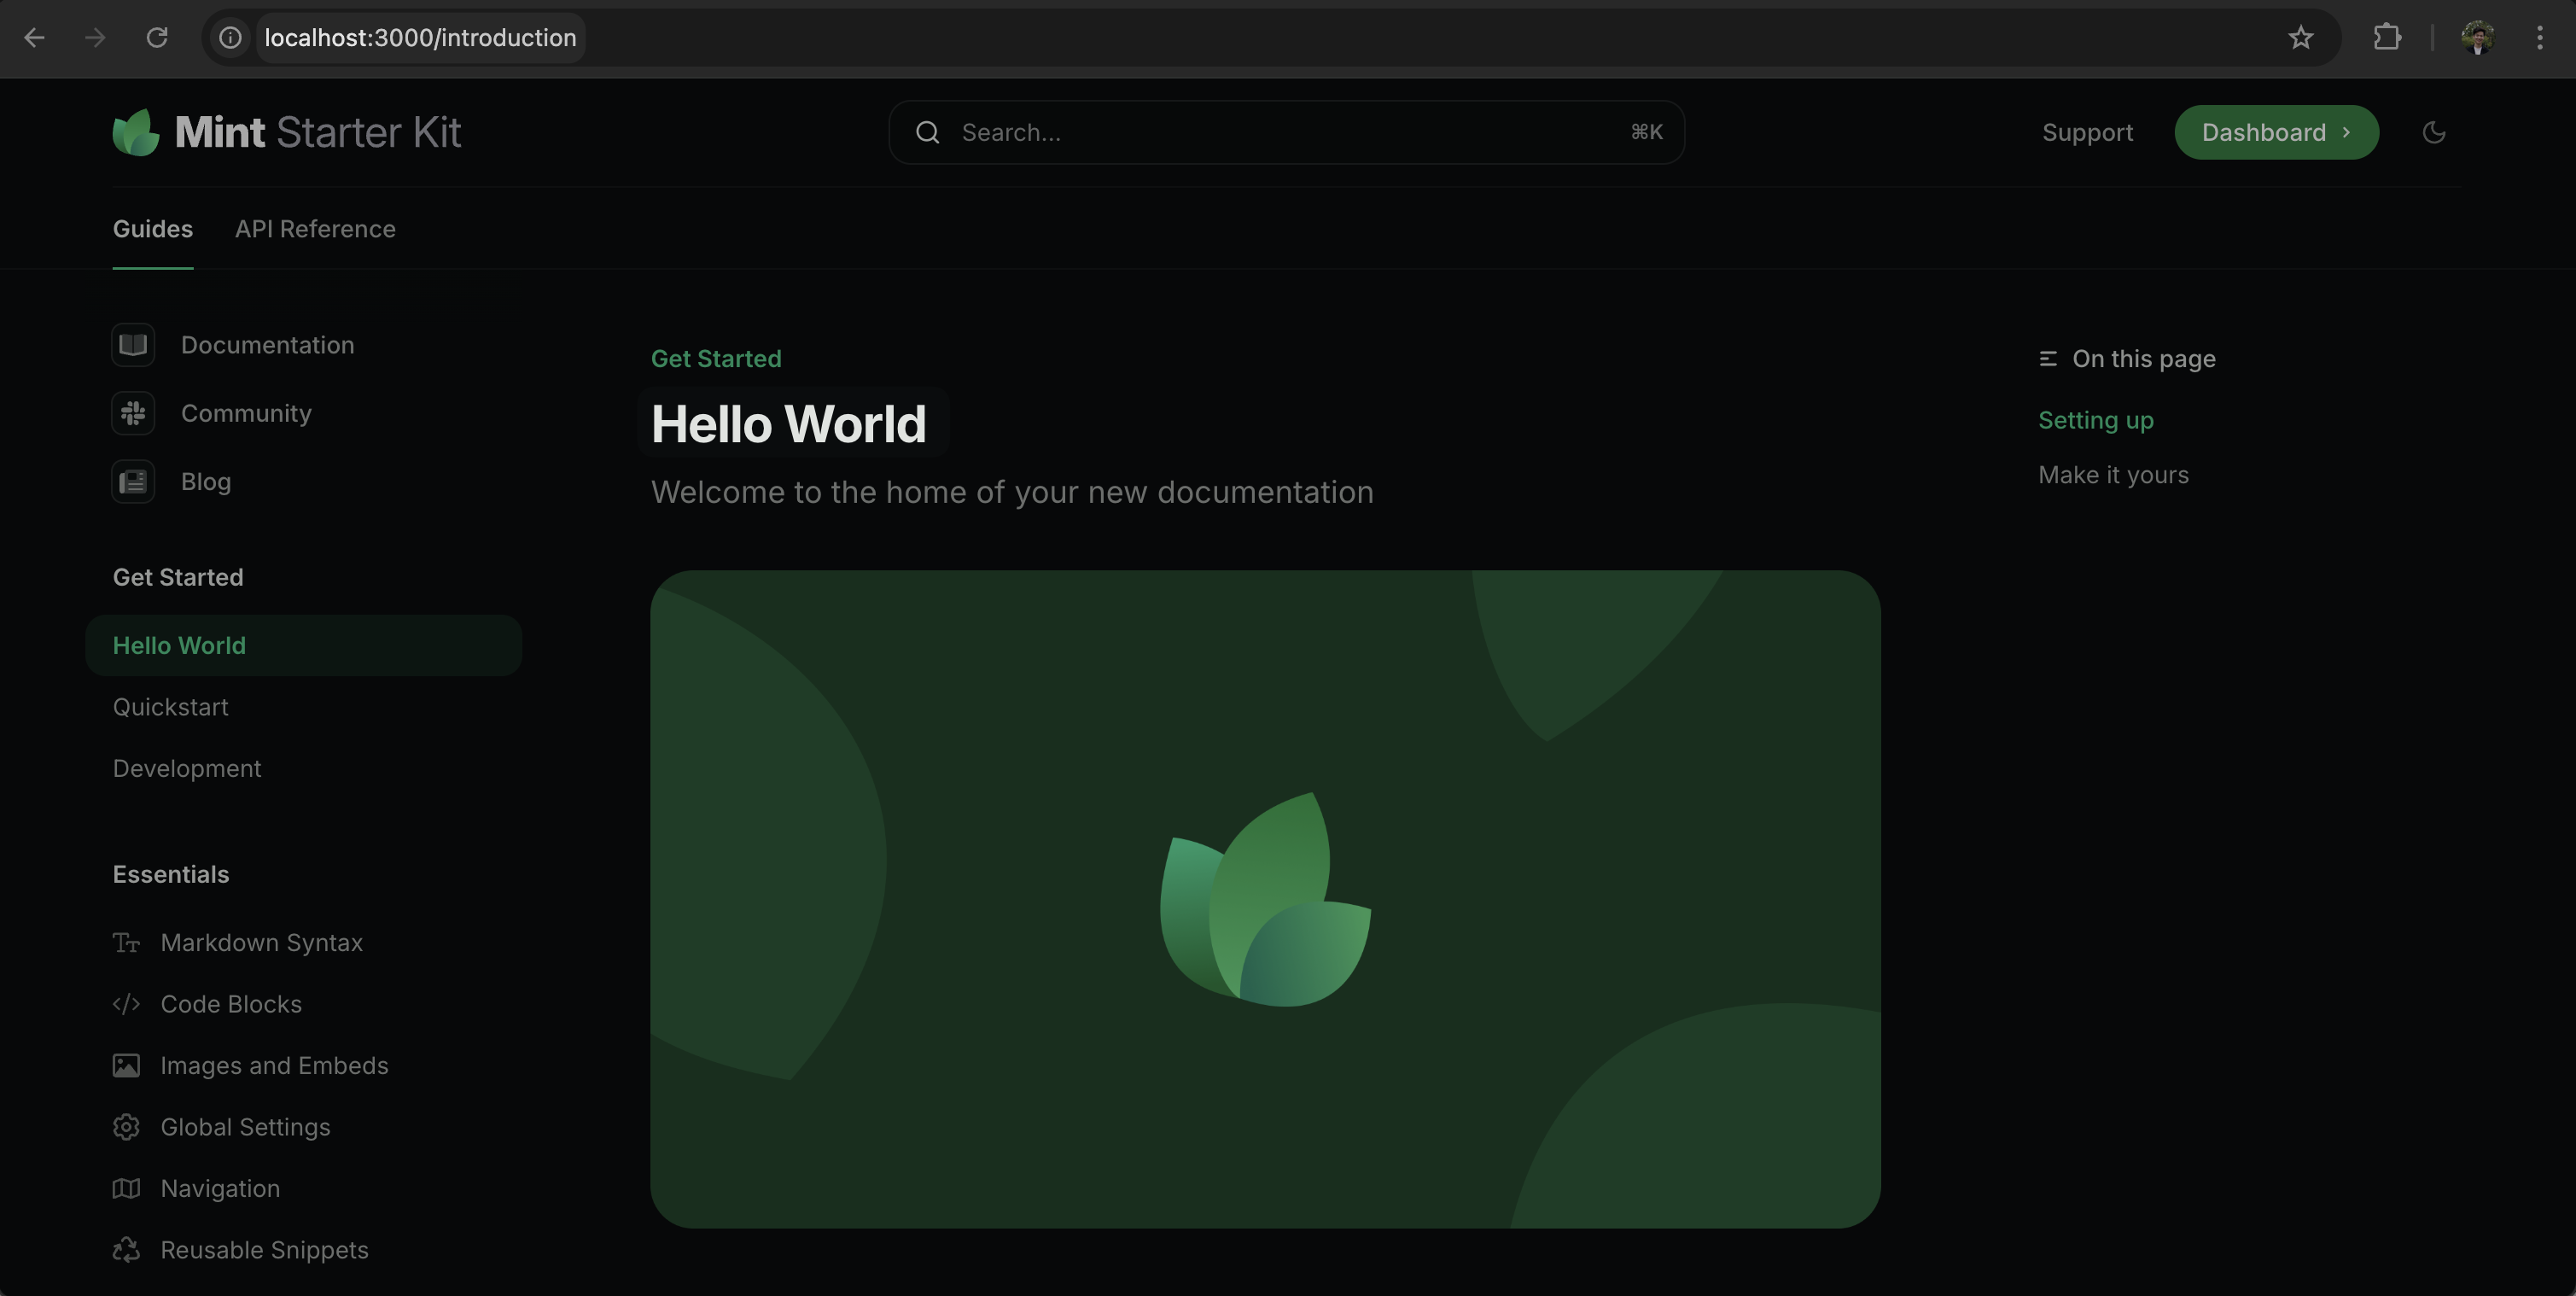
To preview the changes locally, run this command:
```bash
mint dev
```
Your preview will be available at `localhost:3000`.
Update the GitHub App permissions if you move your documentation to a different repository.
### Authorize your GitHub Account
1. Navigate to **Settings** in your Mintlify dashboard.
2. Select **My Profile** from the sidebar.
3. Select **Authorize GitHub account**. This opens a new tab to the GitHub authorization page.
An admin for your GitHub organization may need to authorize your account depending on your organization settings.
## Editing Workflows
Mintlify offers two workflows for creating and maintaining your documentation.
For users who prefer working with existing tools in their local environment. Click to jump to this section.
For users who prefer a visual interface in their web browser. Click to jump to this section.
## Code-Based Workflow
The code-based workflow integrates with your existing development environment and Git repositories. This workflow is best for technical teams who want to manage documentation alongside code.
### Install the CLI
To work locally with your documentation, install the Command Line Interface (CLI), called [mint](https://www.npmjs.com/package/mint), by running this command in your terminal:
```bash npm
npm install -g mint
```
```bash yarn
yarn global add mint
```
```bash pnpm
pnpm add -g mint
```
You need Node.js installed on your machine. If you encounter installation issues, check the troubleshooting guide.
### Edit the Documentation
After you set up your environment, you can start editing your documentation files. For example, update the title of the introduction page:
Open your repository created during onboarding, find the `index.mdx` file, and find the top of the file:
```mdx index.mdx
---
title: "Introduction"
description: "This is the introduction to the documentation"
---
```
Update the `title` field to `"Hello World"`.
```mdx index.mdx {2}
---
title: "Hello World"
description: "This is the introduction to the documentation"
---
```
### Preview the Changes
To preview the changes locally, run this command:
```bash
mint dev
```
Your preview will be available at `localhost:3000`.
 ### Push the Changes
When you are ready to publish your changes, push the changes to your repository.
Mintlify automatically detects the changes, builds your documentation, and deploys the updates to your site. Monitor the deployment status in your GitHub repository commit history or the [dashboard](https://dashboard.mintlify.com).
After the deployment is complete, your latest update will be available at `.mintlify.app`.
Optionally, skip the web editor workflow and jump to adding a custom domain.
## Web Editor Workflow
The web editor workflow provides a what-you-see-is-what-you-get (WYSIWYG) interface for creating and editing documentation. This workflow is best for people who want to work in their web browser without additional local development tools.
### Access the Web Editor
1. Log in to your [dashboard](https://dashboard.mintlify.com).
2. Select **Editor** on the left sidebar.
If you have not installed the GitHub App, you will be prompted to install the app when you open the web editor.
### Push the Changes
When you are ready to publish your changes, push the changes to your repository.
Mintlify automatically detects the changes, builds your documentation, and deploys the updates to your site. Monitor the deployment status in your GitHub repository commit history or the [dashboard](https://dashboard.mintlify.com).
After the deployment is complete, your latest update will be available at `.mintlify.app`.
Optionally, skip the web editor workflow and jump to adding a custom domain.
## Web Editor Workflow
The web editor workflow provides a what-you-see-is-what-you-get (WYSIWYG) interface for creating and editing documentation. This workflow is best for people who want to work in their web browser without additional local development tools.
### Access the Web Editor
1. Log in to your [dashboard](https://dashboard.mintlify.com).
2. Select **Editor** on the left sidebar.
If you have not installed the GitHub App, you will be prompted to install the app when you open the web editor.
 ### Edit the Documentation
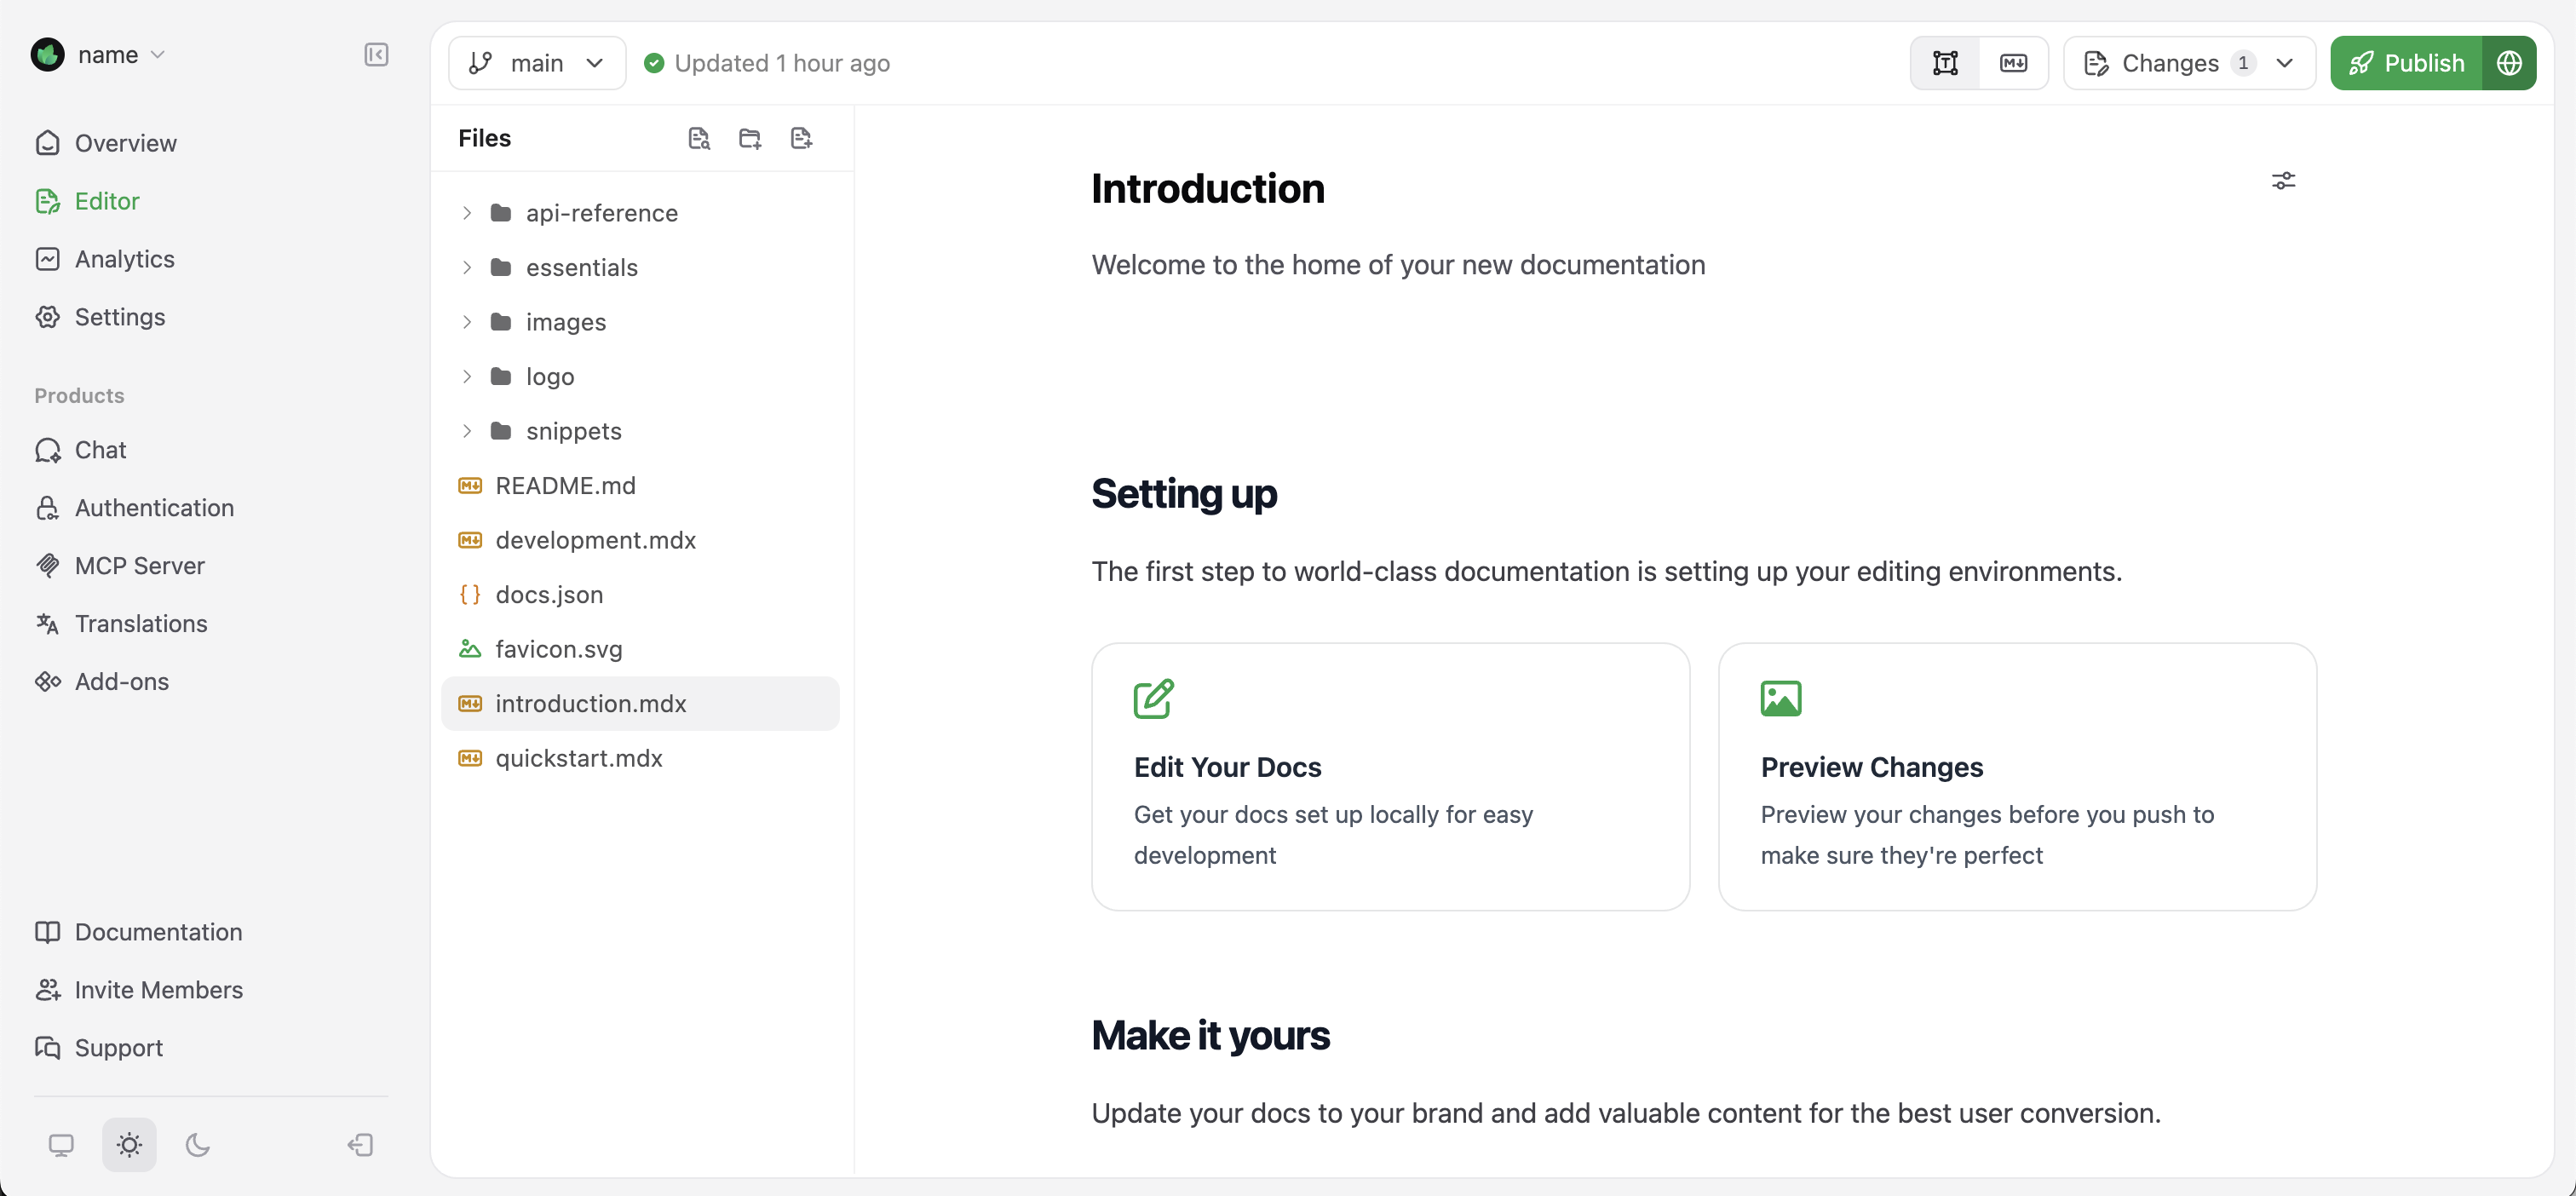
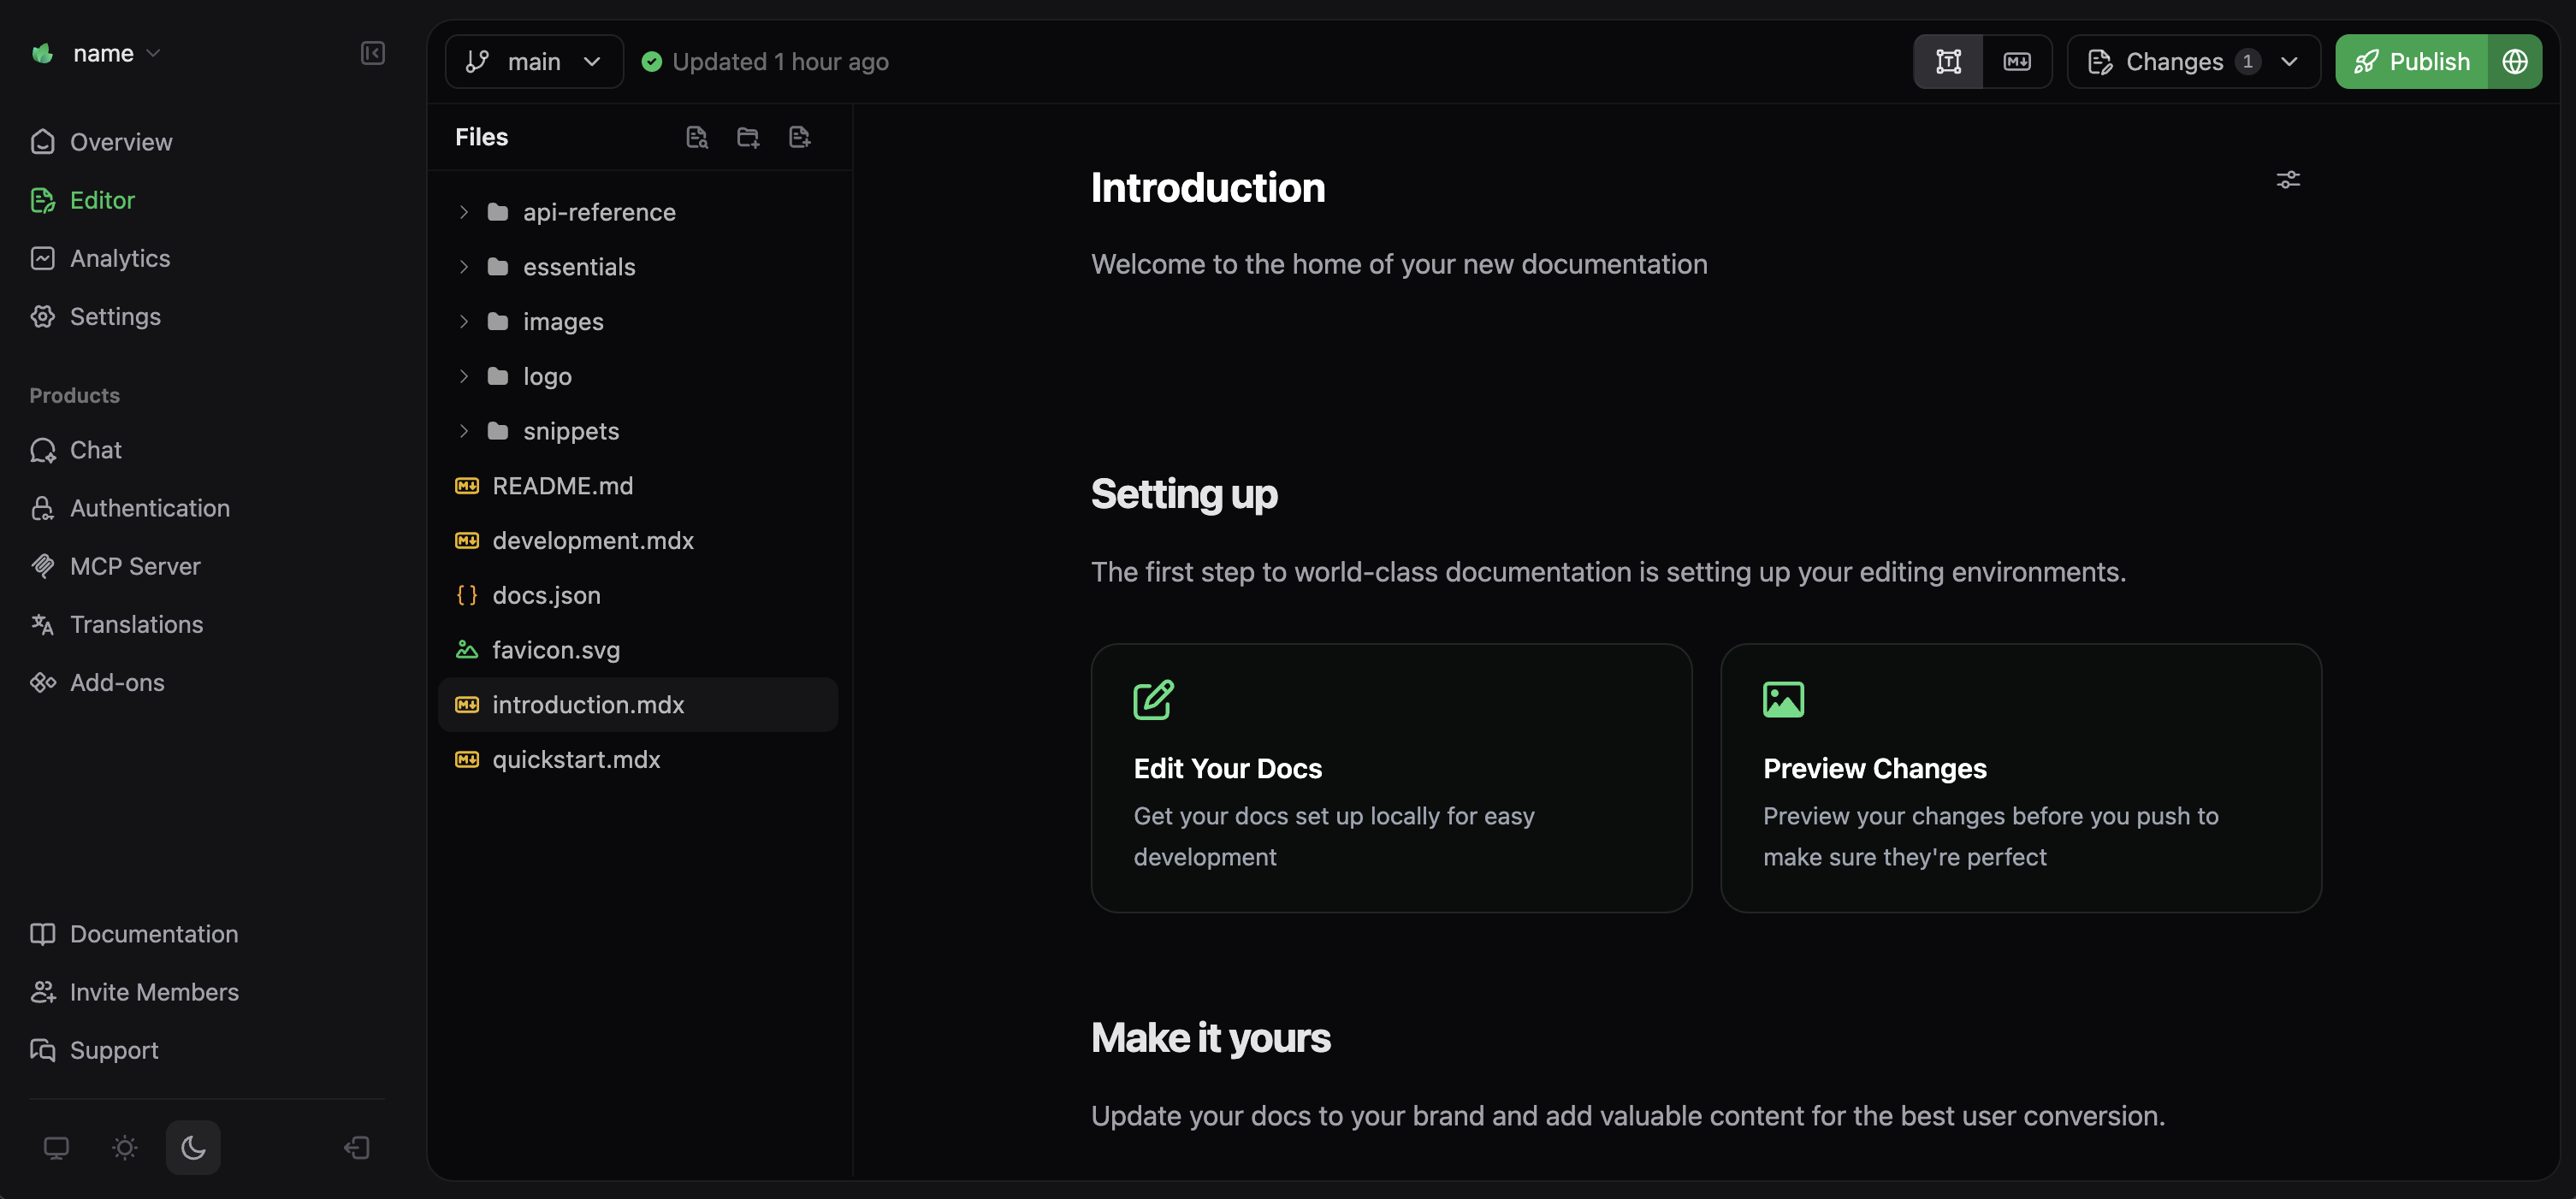
In the web editor, you can navigate through your documentation files in the sidebar. Let's update the introduction page:
Find and select `index.mdx` in the file explorer.
Then, in the editor, update the title field to "Hello World".
### Edit the Documentation
In the web editor, you can navigate through your documentation files in the sidebar. Let's update the introduction page:
Find and select `index.mdx` in the file explorer.
Then, in the editor, update the title field to "Hello World".
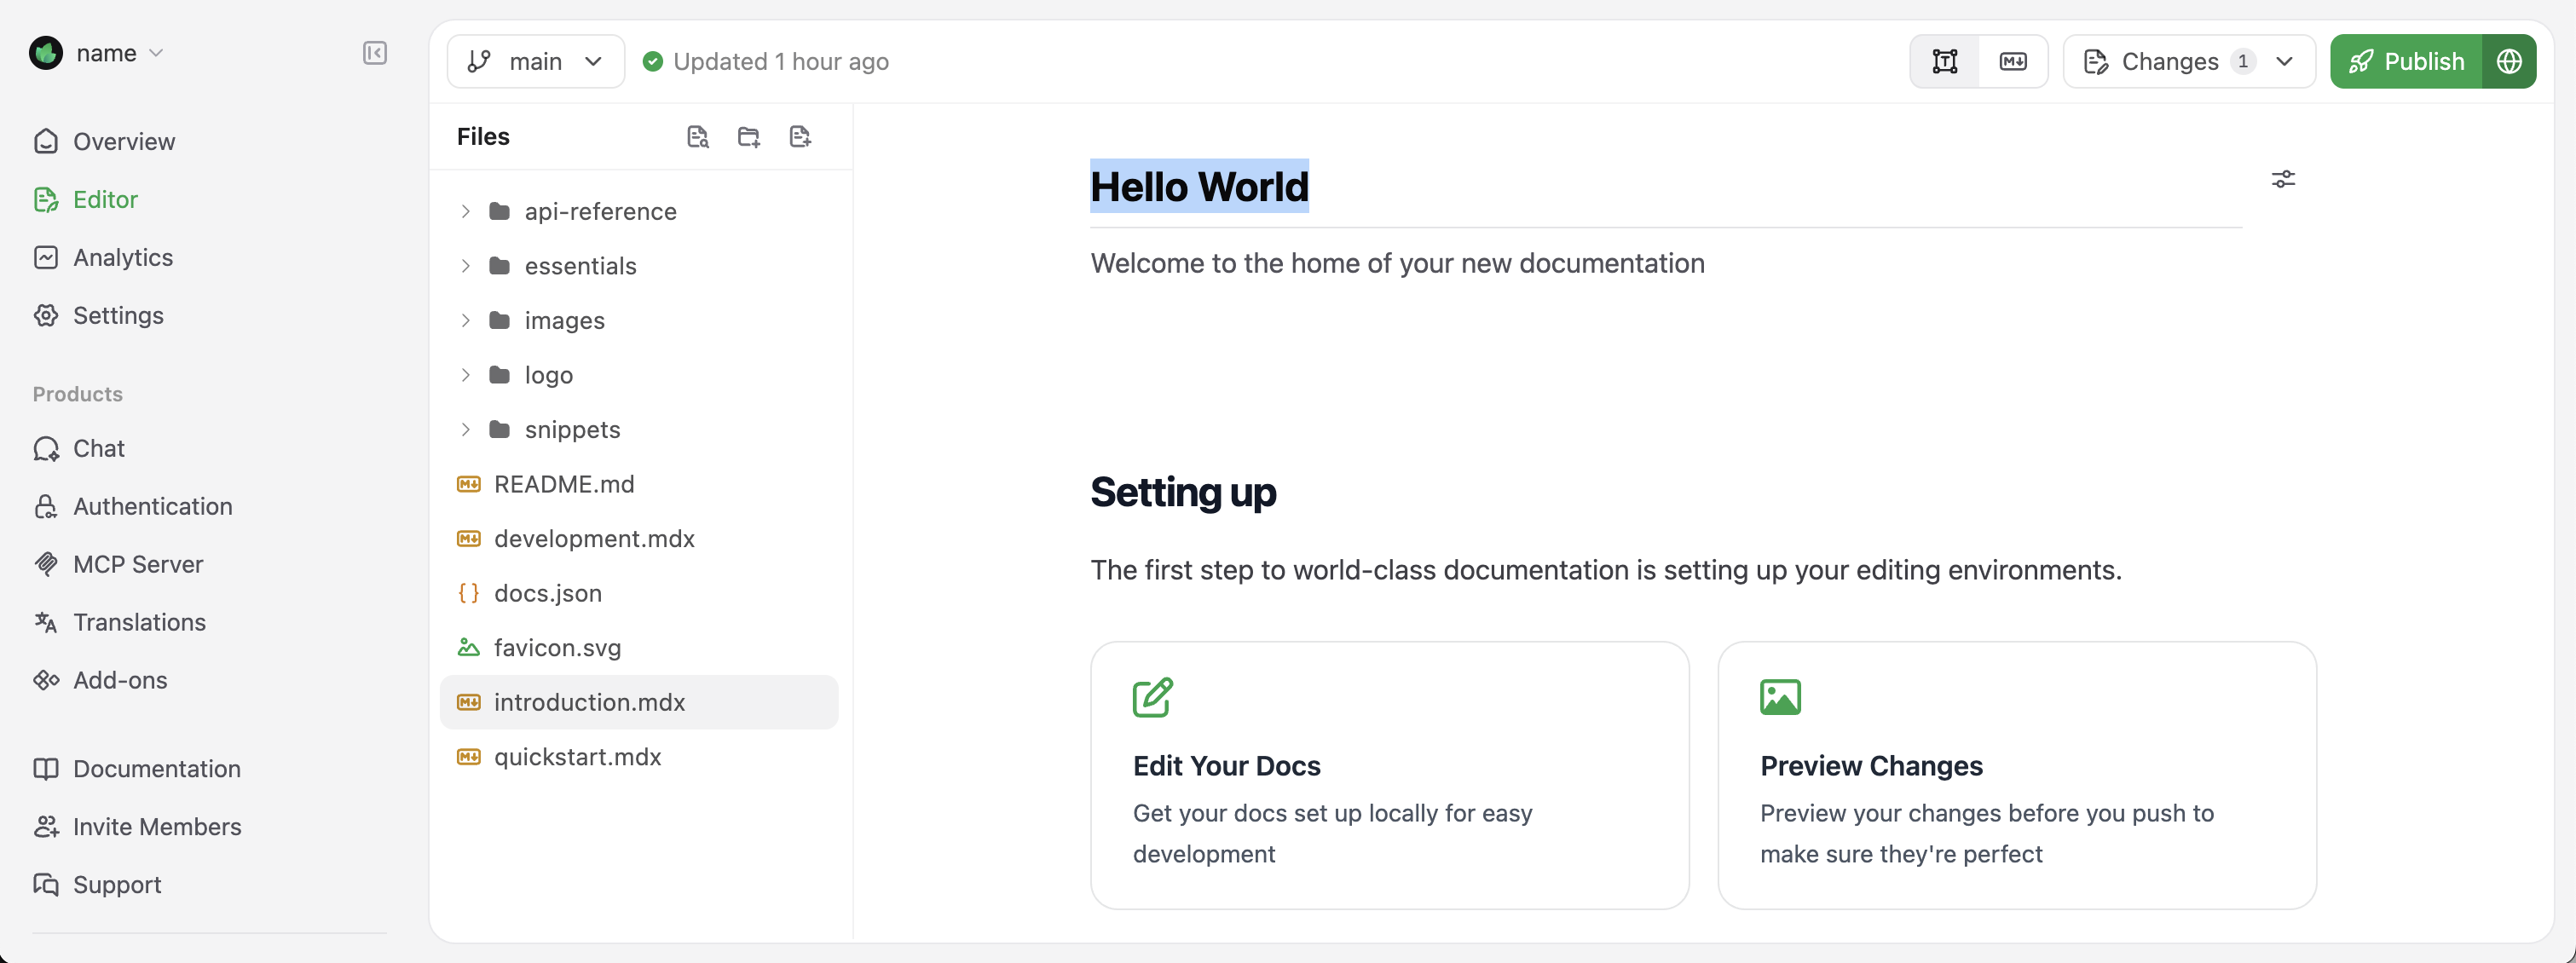
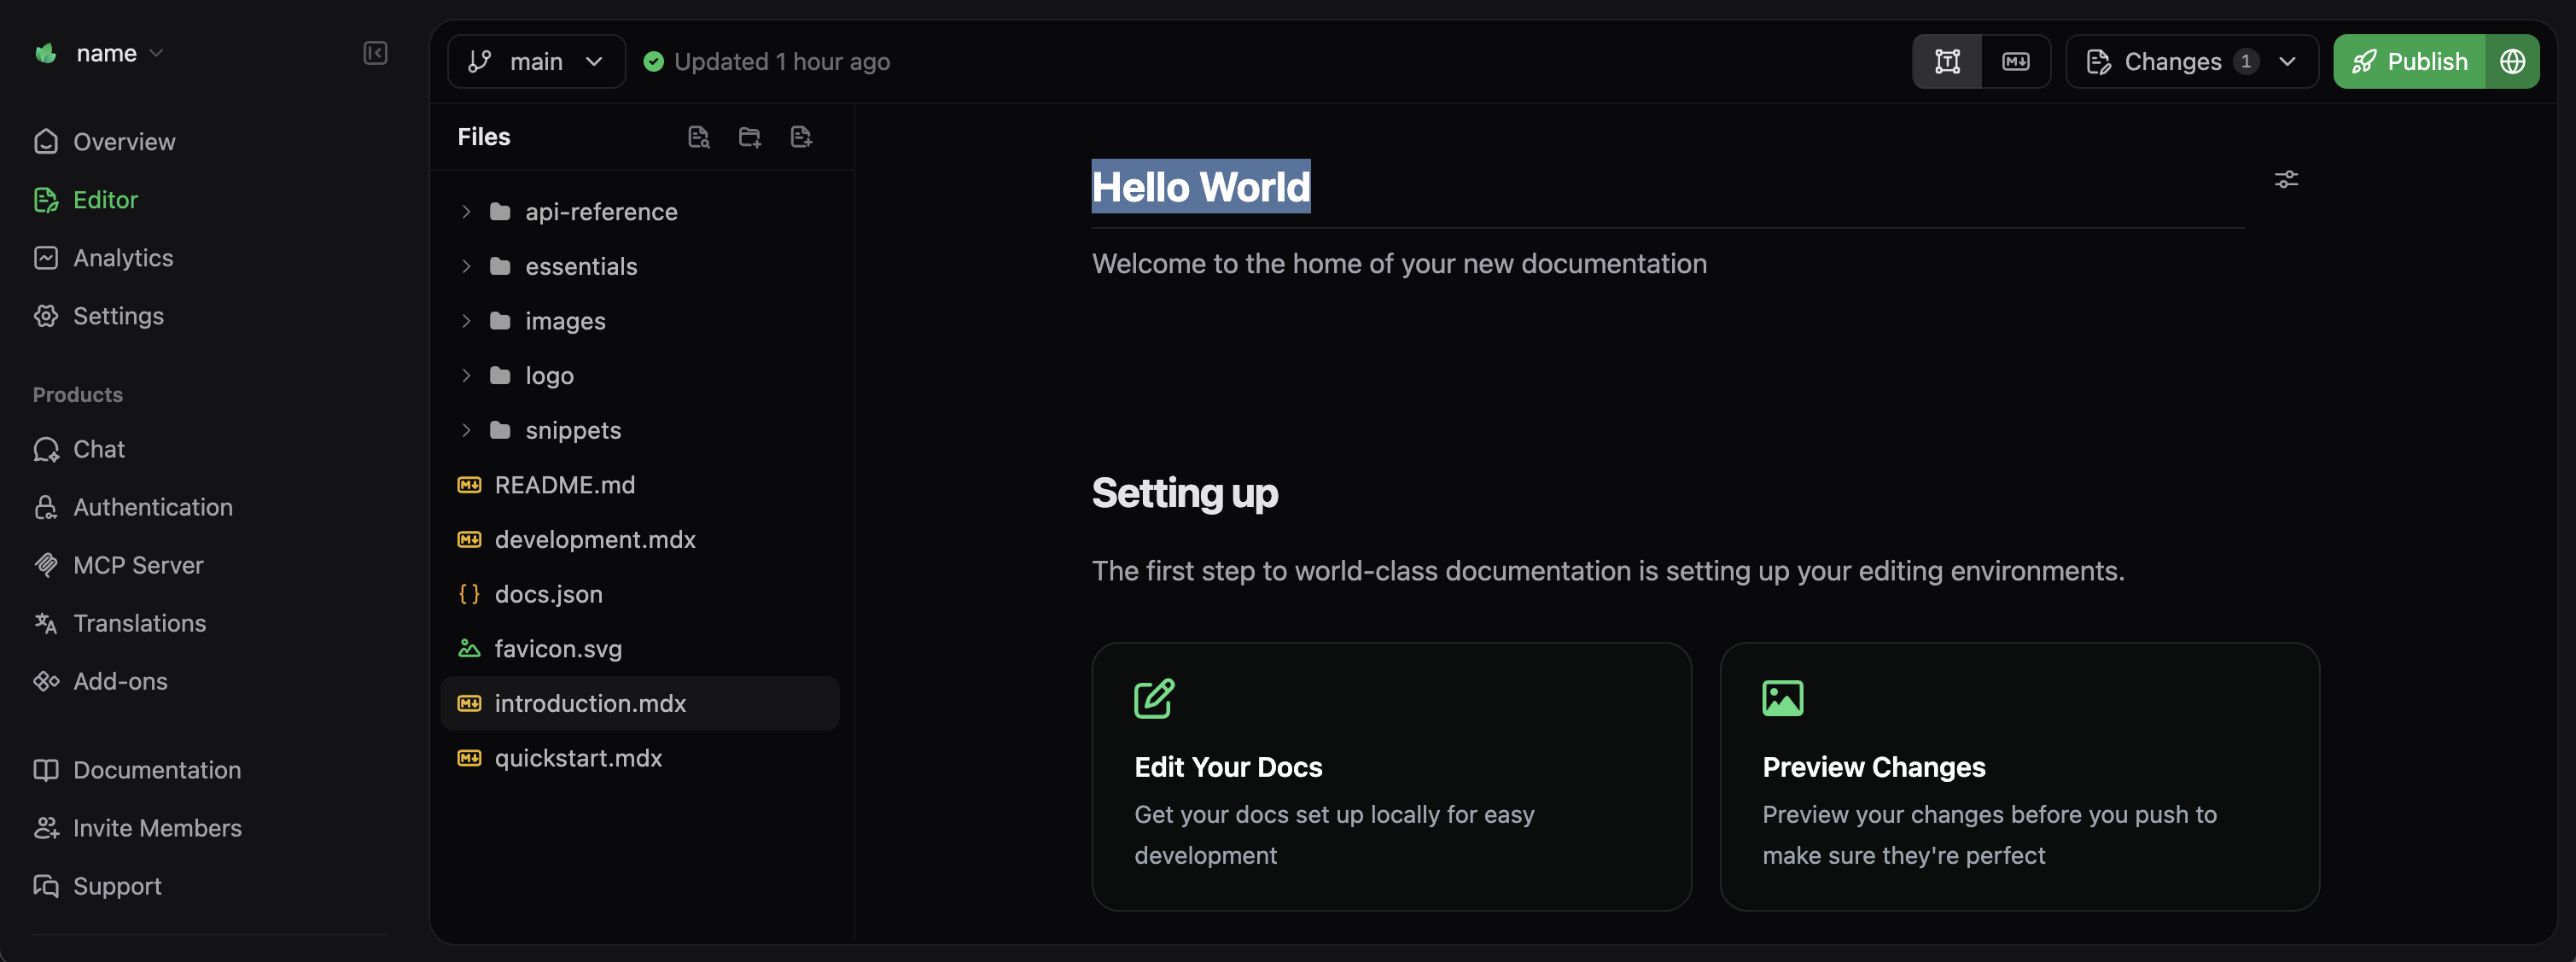 The editor provides a rich set of formatting tools and components. Type / in the editor to open the command menu and access these tools.
### Publish Your Changes
When you are satisfied with your edits, select the **Publish** button in the top-right corner. Your changes are immediately deployed to your documentation site.
Use branches to preview and review changes through pull requests before deploying to your live site.
For more details about using the web editor, including using branches and pull request to collaborate and preview changes, see our [web editor documentation](/editor).
## Adding a Custom Domain
While your `.mintlify.app` subdomain works well for testing and development, most teams prefer using a custom domain for production documentation.
To add a custom domain, go to `Settings` > `Custom Domain` from the dashboard.
The editor provides a rich set of formatting tools and components. Type / in the editor to open the command menu and access these tools.
### Publish Your Changes
When you are satisfied with your edits, select the **Publish** button in the top-right corner. Your changes are immediately deployed to your documentation site.
Use branches to preview and review changes through pull requests before deploying to your live site.
For more details about using the web editor, including using branches and pull request to collaborate and preview changes, see our [web editor documentation](/editor).
## Adding a Custom Domain
While your `.mintlify.app` subdomain works well for testing and development, most teams prefer using a custom domain for production documentation.
To add a custom domain, go to `Settings` > `Custom Domain` from the dashboard.
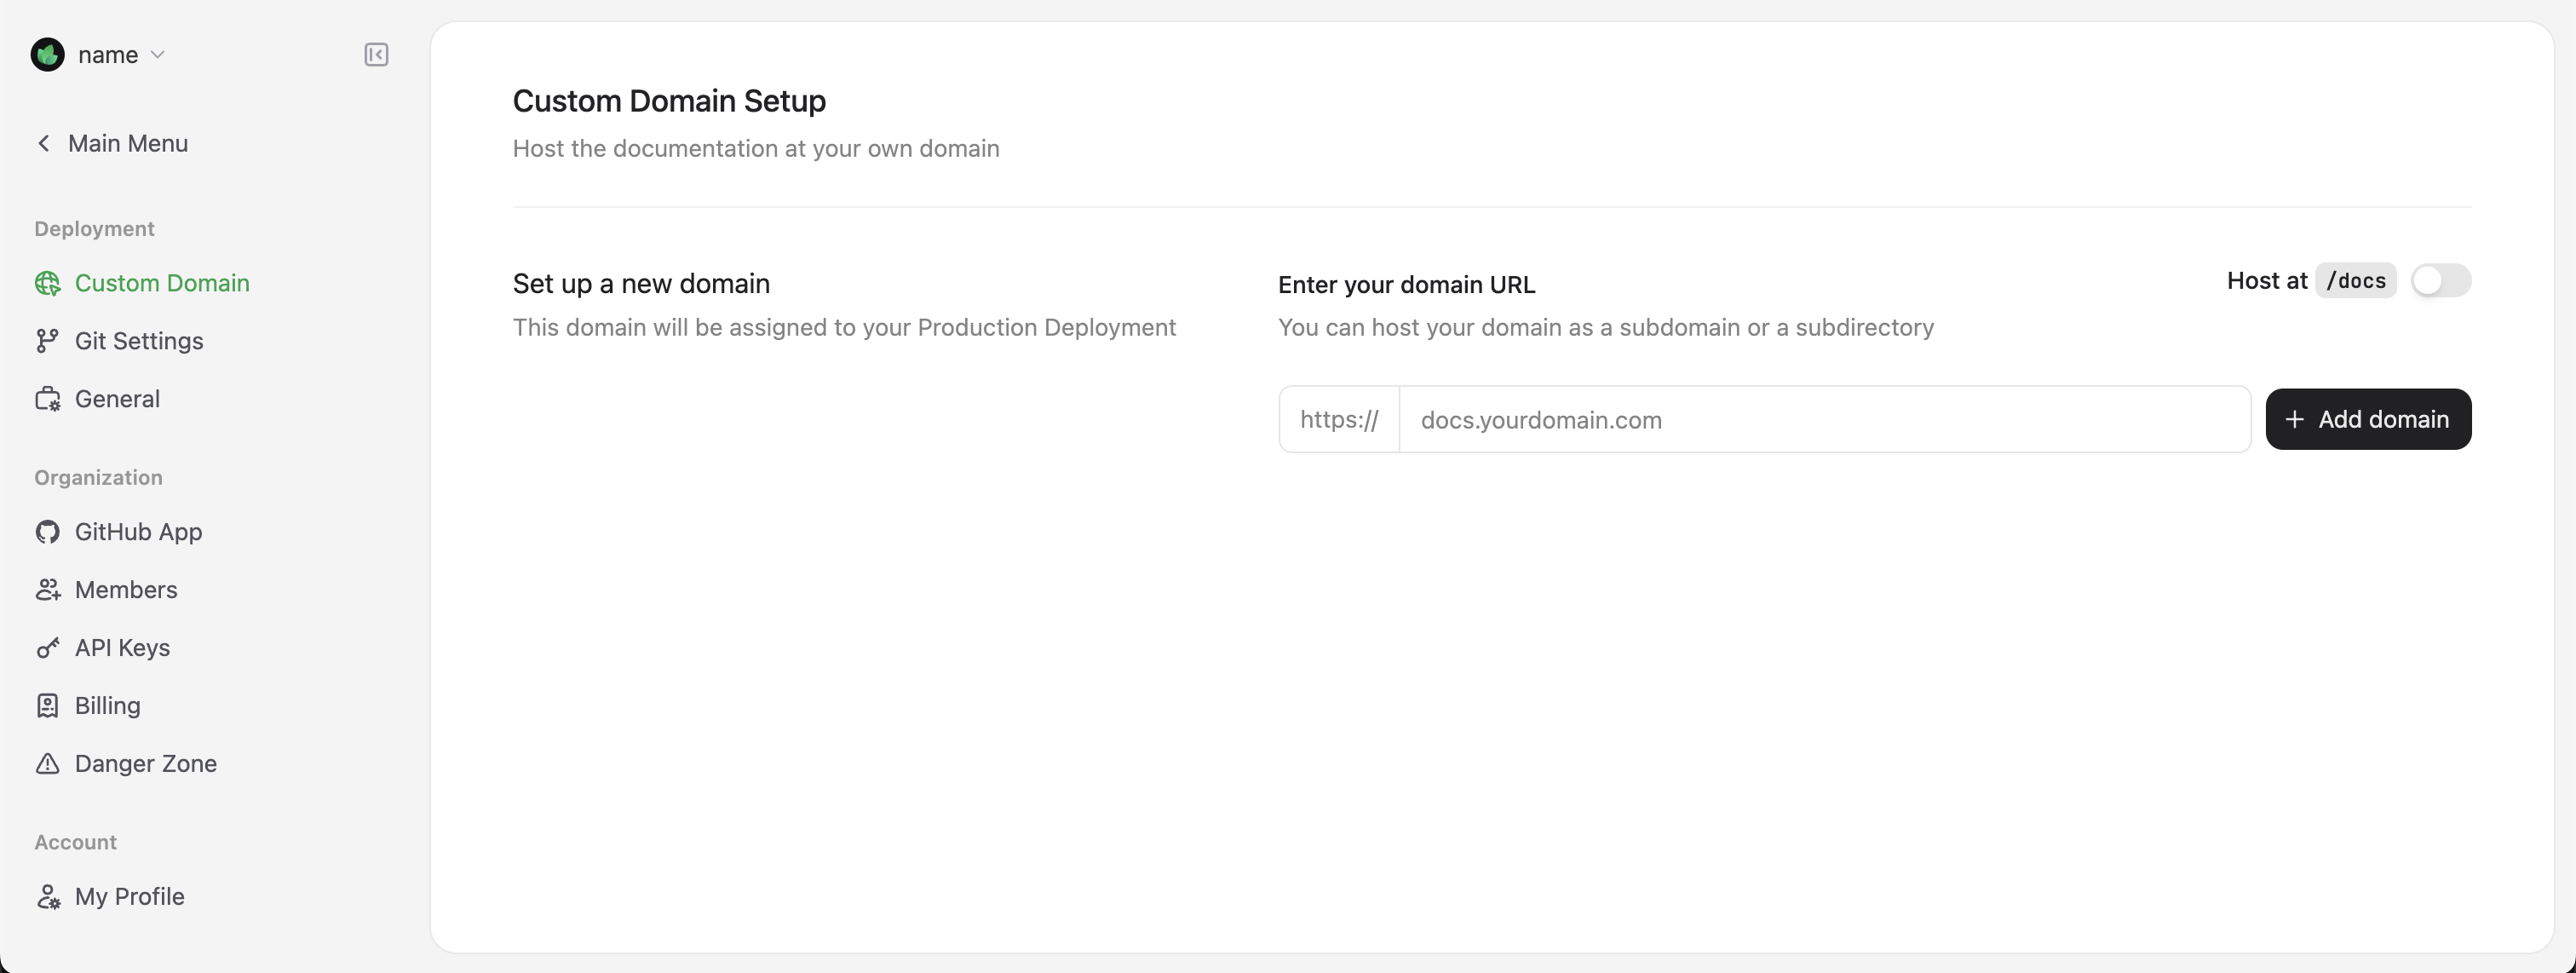
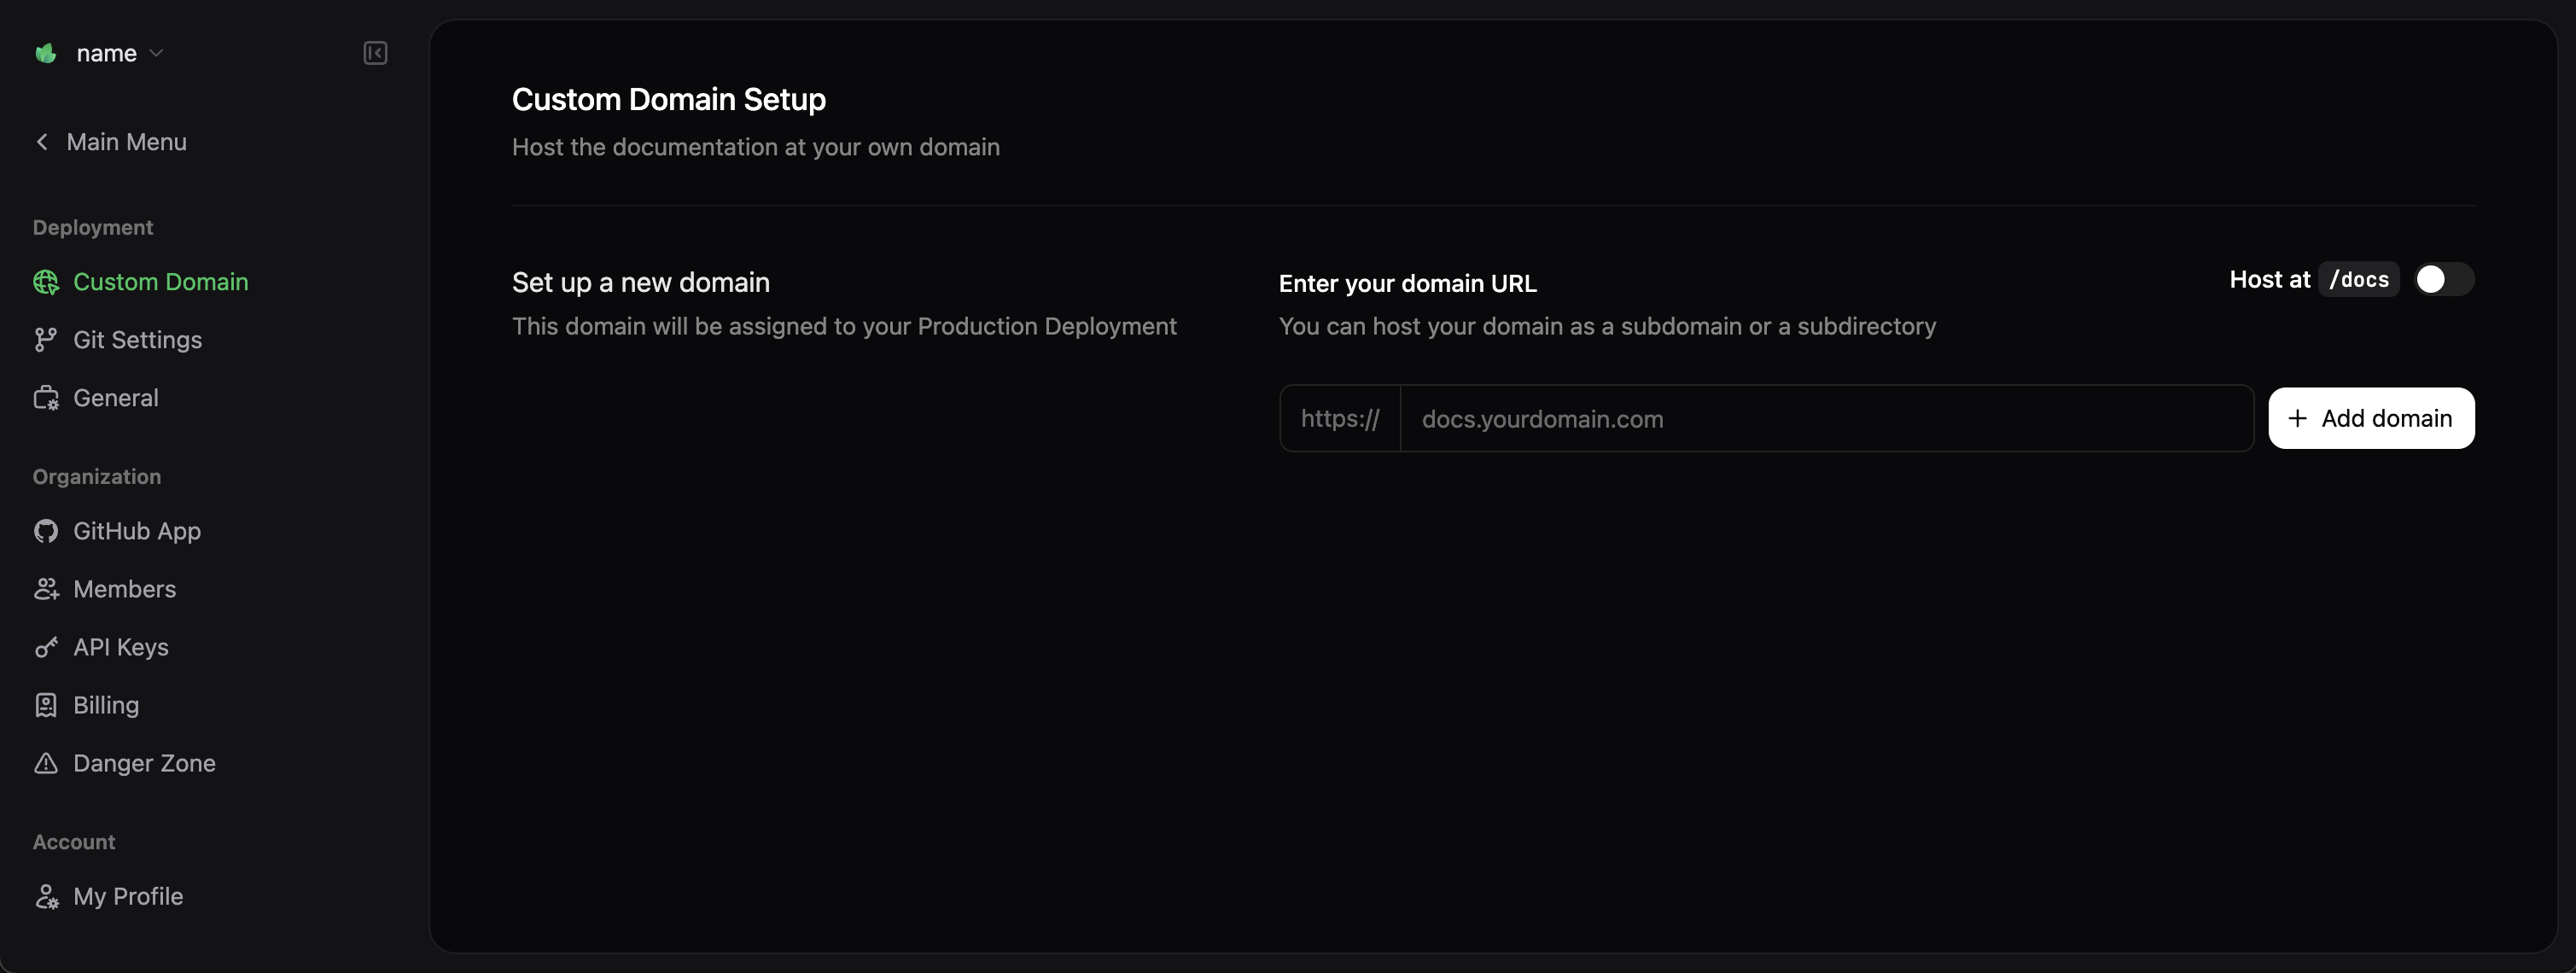 Enter your domain (for example, `docs.yourcompany.com`) and follow the provided instructions to configure DNS (Domain Name System) settings with your domain provider.
| Record Type | Name | Value | TTL |
| ----------- | ------------------- | ------------------ | ---- |
| CNAME | docs (or subdomain) | cname.mintlify.app | 3600 |
DNS changes can take up to 48 hours to propagate, though changes often complete much sooner.
## Next Steps
Congratulations! You have successfully deployed your documentation site with Mintlify. Here are suggested next steps to enhance your documentation:
Configure site-wide styling, navigation, integrations, and more with the `docs.json` file.
Learn how to customize colors, fonts, and the overall appearance of your documentation site.
Structure your documentation with intuitive navigation to help users find what they need.
Enhance your documentation with interactive components like accordions, tabs, and code samples.
Create interactive API references with OpenAPI and AsyncAPI specifications.
## Troubleshooting
If you encounter issues during the setup process, check these common troubleshooting solutions:
Make sure you have Node.js v19+ installed and that you run the `mint dev` command from the directory containing your `docs.json` file.
Deployment can take upwards to a few minutes. Check your GitHub Actions (for code-based workflow) or deployment logs in the Mintlify dashboard to ensure there are no build errors.
Verify that your DNS records are set up correctly and allow sufficient time for DNS propagation (up to 48 hours). You can use tools like [DNSChecker](https://dnschecker.org) to verify your CNAME record.